
There are a dozen tips I still want to share with you. I’ve been wrestling all week with which one to choose for this last email!
- The first finger that just won’t loosen up?
- The students whose vibrato never quite gets faster?
- The perfect-looking vibrato with an inaudible oscillation?
- How about the vibrato that starts gorgeous and loose but has mysteriously tightened up a year later?
Vibrato Articles
Part 1: Introduction
Part 2: Upgrading the Shaker Egg
Part 3: Thumb Swings
Part 4: Getting the Full View (this article)
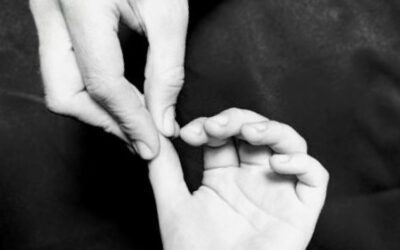
One challenge with all things vibrato is that students can’t see what’s going on under the body of the violin, where all the tricky bits are located. A mirror can help, but troubleshooting a three-dimensional skill from a two-dimensional image is knotty business … even when you know what you’re doing. (Let us all share a collective flashback through eight hundred zoom lessons … (。ヘ°)
There is more, though. We teachers, have the advantage of a fully-formed template for vibrato. We can make a dozen brilliant adjustments during the lesson — in person or otherwise — and get things working perfectly. But students often lack the experience to recreate these adjustments at home — no matter how clearly we explain them, or how well they do them in the lesson, or whether they work with a mirror.
What is the answer?
First, a finely grained sequence. That is a topic for another day.
Second, rest position.
My students spend fully 80% of their vibrato training in rest position. They go through nine steps, some lasting just a few minutes, others a few weeks. Their vibrato is essentially fully formed by the time they put it on their shoulder.
We do hand vibrato, and my students invariably achieve a gorgeous one (with a perfect pinky finger, mon dieu). Arm vibrato is used in various places to simplify new skills. Here is the sequence. Even with the details missing, you can get the idea:
- Neck polishes, with the whole arm and hand
- Neck polishes, with the thumb fastened
○ Arm vibrato ○ Hand vibrato
- String polishes, with the fingertip gliding on the string
○ Arm vibrato ○ Hand vibrato
- Finger drops, with the finger fastened
○ Arm vibrato ○ Hand vibrato
- Accelerating the vibrato.
This is the secret sauce. If the vibrato is still at “learning speed,” that also means it’s not fully automatic … which also means the muscle memory is not yet solidified and is guaranteed to change over time (and not always in a good way).
Once the vibrato is fluid and awesome in rest position, we move everything onto the shoulder. There is very little adjusting needed at that point—the last step is basically adding the bow.
It doesn’t seem logical that a skill that is fundamentally about weight and balance could be practiced in a completely different position. But it turns out the issues of balance and support are easily resolved once all the other confusions have been sorted out.
Looking for Suzuki Violin Lessons in Austin?
At Enchanted Wood Suzuki Studio, we specialize in guiding young beginners and their parents through every stage of learning the violin. Whether you live in North Austin, Cedar Park, or Round Rock, our studio provides a warm, structured environment where parents and children thrive together.
Ready to get started? Contact our Austin violin teachers today to learn more about violin lessons at Enchanted Wood.
0 Comments